
Introduction to How to Make Cake Pops
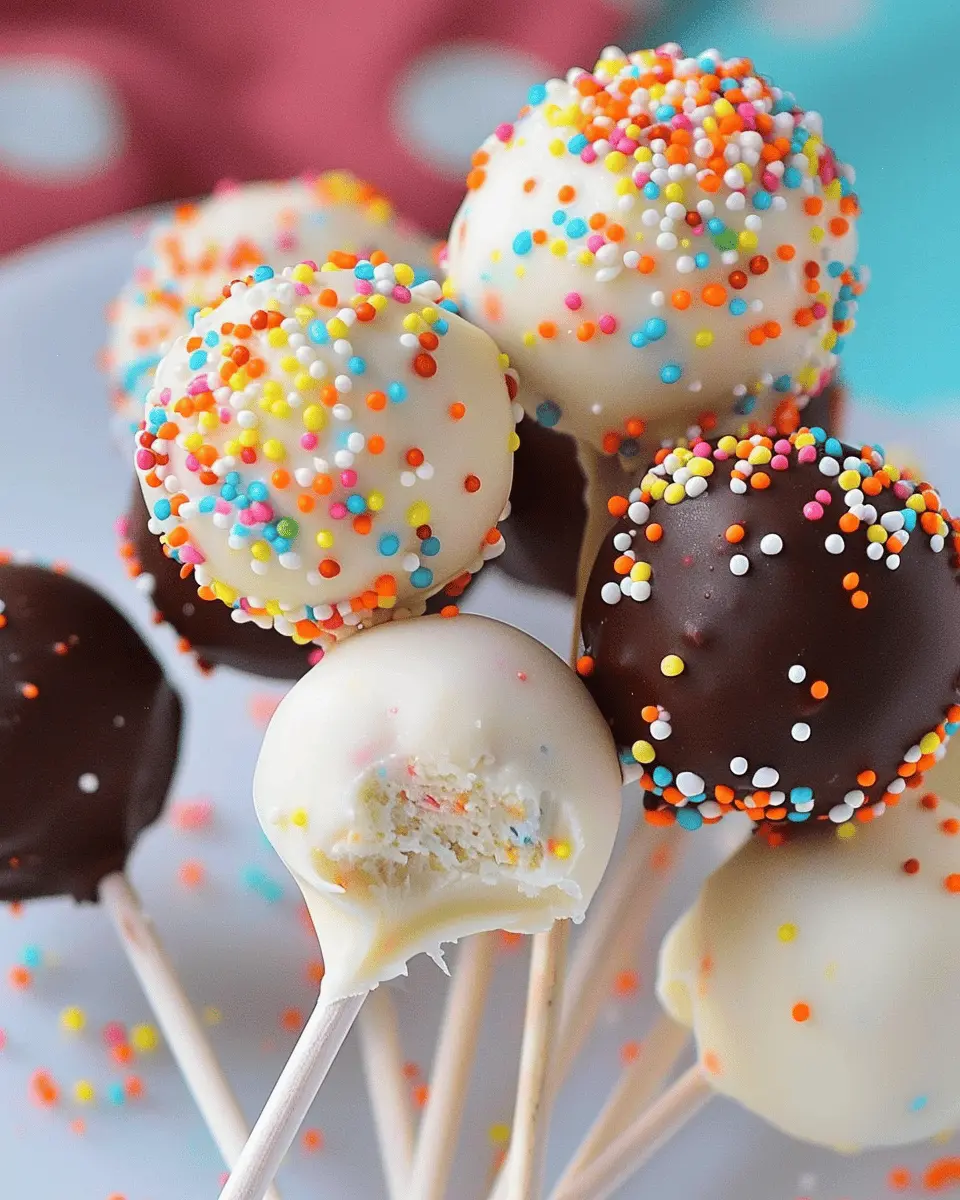
Cake pops have taken the dessert world by storm, and it’s easy to see why. These delightful little treats combine the classic taste of cake with the fun of a lollipop. The appeal of homemade cake pops lies in their versatility and charming presentation. But they’re not just pretty; they’re also a game changer for gatherings, parties, or just a sweet afternoon treat!
The appeal of homemade cake pops: Why they’re a game changer
Let’s face it: we all love dessert, but sometimes we want something more than just a slice of cake. Cake pops offer a unique twist—they’re portable, easy to share, and can be customized to fit any theme or occasion. Ever thought about how cake pops can elevate your next birthday party or baby shower? Instead of a traditional cake, picture a beautiful display of colorful cake pops that catch everyone’s eye.
The beauty of making your own cake pops is that you can control the flavors and decorations. You can use any leftover cake you have, mix it with frosting, and create delectable combinations. Whether you’re into chocolate, vanilla, or even red velvet, the possibilities are endless. Imagine dipping your pops in vibrant chocolate coatings and decorating them with sprinkles, nuts, or even edible glitter!
Are you a fan of health-conscious treats? You can even experiment with healthier versions. Websites like Healthline offer creative recipes that incorporate whole ingredients without losing the fun.
Let’s not forget about the satisfaction that comes from making something delicious with your own hands. According to a survey by the National Confectioners Association, the act of creating homemade desserts increases the enjoyment level, making them taste even better!
So, if you’re ready to dive into the delicious world of cake pops, you’re in for a treat. In this article, you will learn how to make cake pops that are not only easy but virtually fool-proof. With a few simple ingredients and some creativity, you’ll impress friends, family, and yourself! Get your aprons ready; we’re about to embark on a sweet adventure together.
Ingredients for Cake Pops
Essential cake ingredients: What you need for the base
To start your journey on how to make cake pops, you’ll first need the right base. The classic choice is a simple vanilla or chocolate cake. Here’s what you’ll need:
- Cake mix: A box of your favorite flavor will do. Look for a quality brand or consider making it from scratch.
- Eggs: Follow the instructions on your mix—usually, you’ll need two or three.
- Water or milk: This helps create a moist texture. If you want a little richness, use whole milk.
- Oil: Vegetable oil works best, adding moisture and ensuring your cake pops don’t dry out.
Frosting fixings: The key to moisture and flavor
Next, let’s not underestimate the role of frosting in making those cake pops sensational!
- Store-bought frosting: A convenient option, especially cream cheese or buttercream; they both blend beautifully.
- Homemade frosting: Making your own can elevate the flavor. Just whip up some butter with powdered sugar, and add milk for the perfect consistency.
For a detailed frosting guide, check out this expert recipe.
Decoration delights: Sprinkles and chocolate options
Now that the fun begins—decorating! Here’s what you need:
- Dipping chocolate: Look for candy melts or chocolate chips; both add deliciousness and a vibrant color.
- Sprinkles: Go wild! Use classic rainbow sprinkles, or get fancy with edible glitter or chocolate shavings.
- Styrofoam blocks or cake pop stands: They’ll hold your decorated pops upright while they set, ensuring a perfect presentation.
Now you’re all set to create delightful cake pops that are sure to impress!
Preparing Cake Pops
Making cake pops is a delightful blend of baking and creativity that can impress family and friends alike. If you’re eager to learn how to make cake pops that are not just delicious but also visually stunning, follow these step-by-step instructions for a fool-proof experience.
Step 1: Baking the Cake
To start, you’ll need a base baked cake. You can use any boxed cake mix or your favorite homemade recipe. The cake should be baked according to the instructions, then allowed to cool completely. This may seem straightforward, but the cooling part is crucial! A hot cake will crumble unevenly, which will affect your cake pops.
Tip: For a more moist cake, try adding an extra egg or using milk instead of water in your cake mix.
Step 2: Crumbling the Cooled Cake
Once your cake has cooled, it’s time to crumble it into a fine texture. You can do this by placing the cake in a large bowl and breaking it apart with your hands or using a fork. Aim for a consistency similar to breadcrumbs. This step is essential for the cake pops to hold their shape later, so don’t skip it!
Step 3: Making the Frosting
Next, it’s all about making the frosting. You can use store-bought frosting or whip up your own. For homemade frosting, mix together 1 cup of softened butter, 4 cups of powdered sugar, and 2 tablespoons of milk until smooth and creamy. You can also add vanilla extract for an extra flavor kick.
Tip: A good frosting-to-cake ratio is key; about 1/4 cup of frosting per 2 cups of cake crumbles should do the trick.
Step 4: Mixing Cake and Frosting
After preparing your frosting, it’s time to combine it with the crumbled cake. Add in the frosting gradually, mixing until you achieve a dough-like consistency. The mixture should be moist enough to form a ball but not overly sticky. If it feels too wet, just add more cake crumbles!
Step 5: Rolling and Chilling the Cake Balls
Now comes the fun part—rolling the mixture into cake balls! Scoop out about a tablespoon of the mixture and roll it into a smooth ball between your palms. Place the balls on a baking sheet lined with parchment paper. Once you’ve rolled all your balls, pop the baking sheet in the refrigerator for about 30 minutes. This chilling time helps them firm up, making dipping easier later on.
Step 6: Melting the Chocolate
While your cake balls are chilling, it’s time to melt the chocolate. You can use chocolate chips or candy melts. Pour the chocolate into a microwave-safe bowl and heat in 30-second intervals, stirring in between until it’s fully melted and smooth. Be cautious—overheating can cause chocolate to seize up.
Step 7: Assembling the Cake Pops
Once your cake balls have chilled, it’s time to assemble the pops. Dip a lollipop stick into the melted chocolate and then insert it about halfway into a cake ball. This acts as glue to help hold the ball on the stick. Repeat for all cake balls, and then place them back in the fridge for a few more minutes to set.
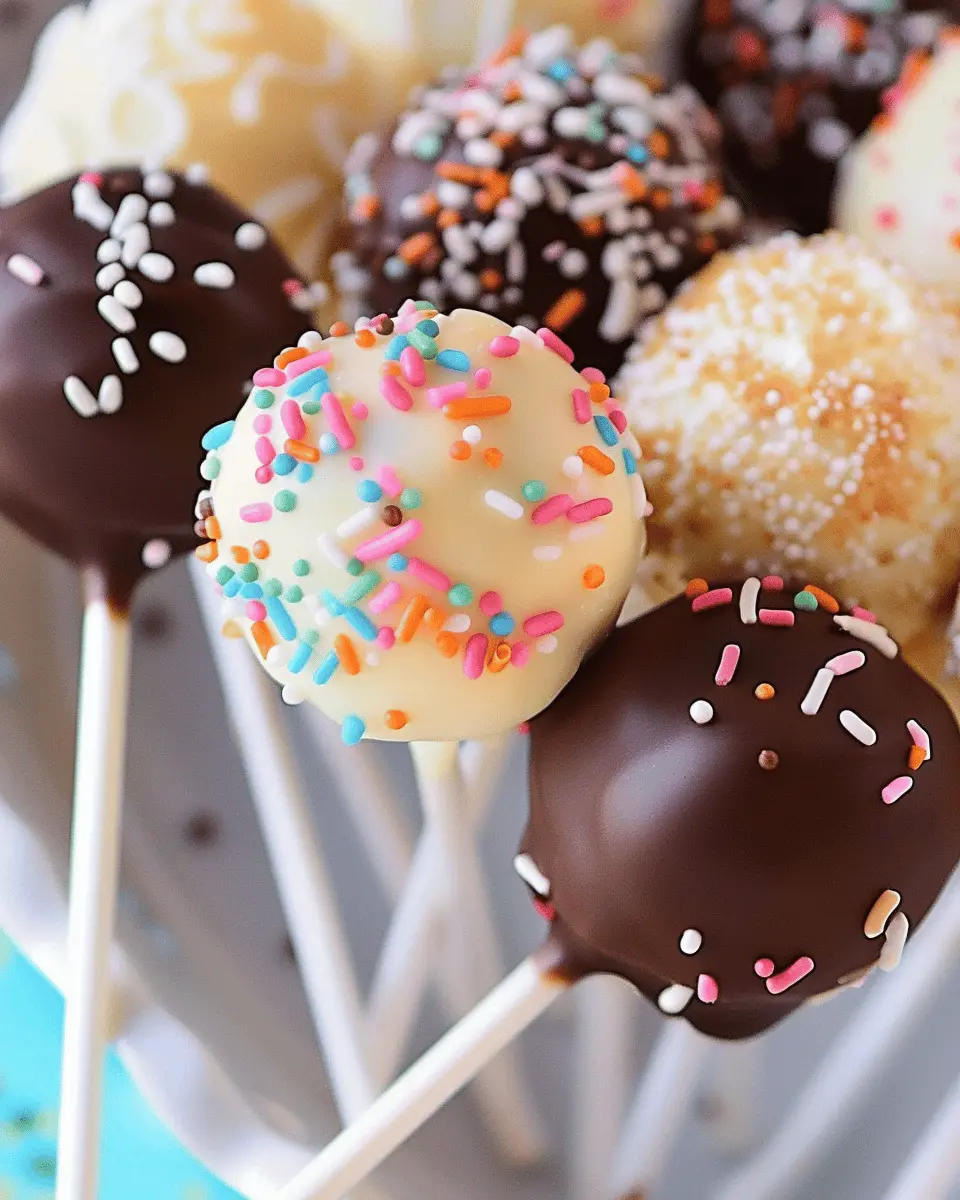
Step 8: Decorating and Setting the Cake Pops
Now comes the creative part! Dip each cake ball into the melted chocolate, covering it entirely. Allow any excess chocolate to drip off, then place it upright in a cake pop stand or styrofoam block. While the chocolate is still wet, sprinkle with your favorite toppings like sprinkles or crushed nuts. Let the cake pops set completely, which usually takes about 30 minutes at room temperature.
After you’ve made these scrumptious treats, share them with friends or bring them to a gathering. They’ll be a hit! For more tempting dessert inspiration, check out Bakerella’s Cake Pop Tutorial. Happy baking!
Creative Variations on Cake Pops
Fun flavor combos: Chocolate cake pops
When considering how to make cake pops, why not kick things up a notch with a variety of scrumptious flavor combinations? Chocolate cake pops are a classic for a reason. But what if you blend in some peanut butter or mint extract? Not only do you get the rich, decadent flavor of chocolate, but you’ll also surprise your taste buds with an unexpected twist. Adding crushed Oreos or chocolate chips enhances both texture and flavor. For an extra touch, dip them in white chocolate and sprinkle some sea salt on top. It’s decadent and delightful!
Seasonal specials: Pumpkin spice cake pops
As the seasons change, so can your cake pop creations! Imagine pumpkin spice cake pops in the fall—these festive treats are perfect for cozy gatherings. Use a pumpkin spice cake mix, and dip them in candy melts flavored with cinnamon or nutmeg. Decorate with orange and white sprinkles for that autumn vibe. If you’re intrigued by seasonal baking, Food Network offers great ideas for seasonal ingredients, ensuring that your cake pops remain vibrant and exciting throughout the year.
Healthier options: Gluten-free or vegan cake pops
More people are seeking ways to enjoy sweet treats while adhering to dietary restrictions. Thankfully, learning how to make cake pops accommodates gluten-free, vegan, or even keto diets. Use gluten-free cake mixes or create a vegan version with almond flour and coconut oil. A delightful alternative for binding is applesauce or flaxseed meal! Not only do these options taste amazing, but they also let everyone join in the fun, ensuring no one is left out at your next celebration.
Get creative, have fun, and remember – the joy is not just in eating, but creating too!
Pro Tips for Perfect Cake Pops
Achieving the Right Cake-to-Frosting Ratio
The foundation of how to make cake pops lies in the balance between cake and frosting. Typically, a ratio of 3:1 cake to frosting works wonders. Too much frosting can lead to overly sweet cake pops that are difficult to shape. Start with a small amount of frosting, mixing until the cake crumbs stick together without being gooey.
Importance of Chilling Your Ingredients
Chilling your mixture is a game-changer in your cake pop-making process. After shaping your balls, let them cool in the fridge for at least 30 minutes. This helps them firm up, making it easier to dip in chocolate. A well-chilled ball reduces the risk of it falling apart during the coating process, ensuring they stay intact.
How to Avoid Cracking Chocolate Coatings
To prevent those pesky cracks in your chocolate coating, temper your chocolate correctly. Use a thermometer to maintain the right melting temperature, and avoid over-heating. If you’re using candy melts, thin them with a bit of vegetable shortening for smoother coatings. A gentle hand during the dipping process goes a long way, too!
With these tips, you’ll be equipped to create cake pops that not only look beautiful but taste delightful. For more baking ideas, check out sources like Baker’s Royal for inspiration!
Serving Suggestions for Cake Pops
Ideal occasions for cake pops
Cake pops are a versatile treat that can shine at various gatherings. Are you planning a birthday party? Cake pops can serve as delightful favors and keep the kids entertained. Hosting an office celebration? Their bite-sized nature makes them perfect for mingling! Even seasonal events like Halloween or Christmas can benefit from creatively decorated cake pops.
For more inspiring event ideas, check out Martha Stewart’s ideas for unique cake pop presentations.
Creative ways to present cake pops
Wondering how to make cake pops really stand out? Presentation is key! Consider using a decorative foam block to secure your pops upright, or place them in cute cupcake liners for added flair. You can also create themed displays — from a colorful dessert table to a rustic picnic setting. Want to take it one step further? Pair your cake pops with complementary drinks like flavored lemonade or sparkling water to create a refreshing treat experience!
These little delights not only taste good but are also fun to customize; the possibilities are endless! Feel free to explore more creative ideas on platforms like Pinterest to elevate your cake pop game.
Time Breakdown for Making Cake Pops
Preparation Time
Getting organized is the first step in learning how to make cake pops. You’ll need about 30 minutes to gather your ingredients, prepare your workspace, and bake the cake. This time is key for ensuring a smooth baking experience.
Baking Time
Once you’ve mixed your cake batter and poured it into the baking pan, the baking process usually takes around 25-30 minutes. Keep an eye on it—every oven is different, and you want that cake perfectly cooked!
Overall Time from Start to Finish
From start to enjoy your delightful cake pops, expect to spend about 2 to 2.5 hours. This includes cooling time and decorating. Crafting these treats is a fun and rewarding project, making it perfect for gatherings!
For more cake inspiration, check out resources like The Cake Blog here. Enjoy your baking adventure!
Nutritional Facts for Cake Pops
Calories per cake pop
When considering how to make cake pops, it’s helpful to know that each cake pop contains around 150-180 calories. This can vary based on ingredients and toppings, so it’s good to keep an eye on portion sizes, especially if you’re trying to indulge mindfully.
Sugar content
Typically, each cake pop can have approximately 12-15 grams of sugar. While sweet treats are meant to satisfy your cravings, being aware of the sugar content helps in managing your overall daily intake.
Suggested serving size
A serving size of one cake pop is generally recommended. However, if you’re hosting a party, it’s common for guests to enjoy two or three! Just remember, these delightful bites are meant to be treats, so balance is key.
For more tips on healthy treats and moderation, check out the USDA’s guidelines on sugar intake here.
FAQs About Making Cake Pops
How do I prevent my cake pops from falling off the stick?
One of the trickiest challenges when making cake pops is ensuring they stay securely on the stick. To prevent any mishaps, start by chilling your cake balls for at least an hour before dipping. This helps them firm up. Additionally, when inserting the stick, dip it into melted chocolate first. This extra layer acts as glue to hold the cake pop in place. Lastly, try not to overcrowd your cake pops when they’re drying; give them space to set properly!
Can I make cake pops in advance?
Absolutely! Making cake pops in advance can save you a lot of time, especially when preparing for events. You can keep them in the fridge for about a week or even freeze them for up to three months. Just ensure you wrap them well in plastic wrap before placing them in an airtight container. When you’re ready to enjoy them, thaw your cake pops in the fridge overnight rather than at room temperature to maintain that delicious texture.
What chocolate should I use for dipping?
When it comes to choosing chocolate for dipping your cake pops, the options are plenty! For a smooth coating, look for candy melts or coating chocolate, which are specifically designed for dipping. They come in various colors and taste great! If you prefer, you can also use real chocolate; just remember to temper it for the best results. For more tips on chocolate types, check out this informative guide from The Spruce Eats.
By keeping these tips in mind, you’ll be well on your way to mastering the delightful art of making cake pops!
Conclusion on Making Cake Pops
Recap of the joy of homemade cake pops
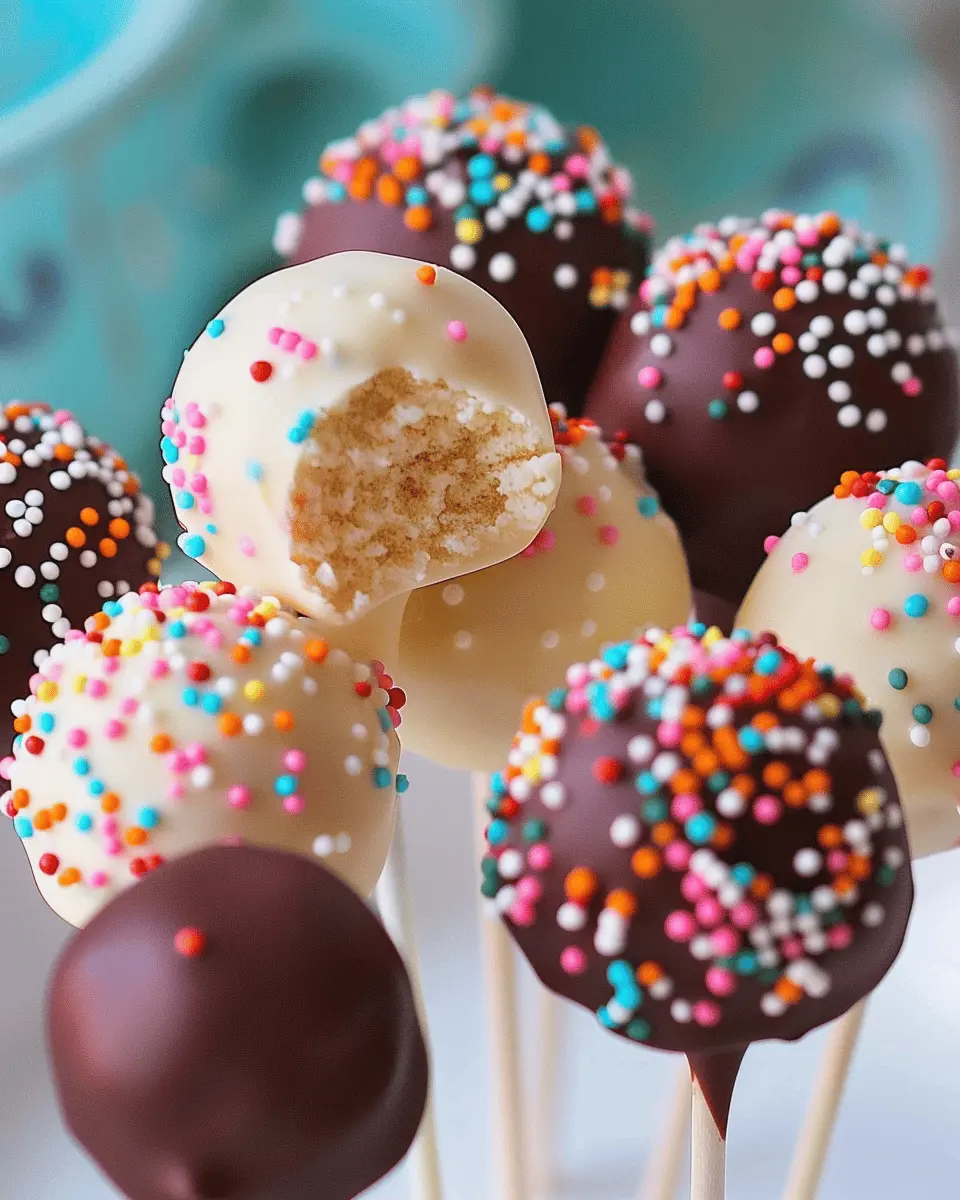
As we wrap up our delicious exploration of how to make cake pops, let’s take a moment to appreciate the sheer joy these delightful treats can bring. Crafting your own cake pops allows for endless creativity—experiment with flavors, colors, and decorations that reflect your personality. Whether you’re celebrating a birthday or just craving a sweet snack, these little bites of happiness are sure to impress your friends and family.
Imagine the smiles you’ll create at your next gathering! With a bit of practice and the right techniques, you’ll be serving up cake pops like a pro. For additional inspiration, check out resources like Taste of Home or Food Network for more tasty ideas. Happy baking!
PrintHow to Make Cake Pops: Easy and Fool-Proof Guide to Treats

Learn how to make delicious cake pops that are easy and fool-proof with this comprehensive guide. Perfect for any occasion!
- Prep Time: 30 minutes
- Cook Time: 30 minutes
- Total Time: 1 hour
- Yield: 20 cake pops 1x
- Category: Desserts
- Method: Baking
- Cuisine: American
- Diet: Vegetarian
Ingredients
- 1 cake (any flavor)
- 1 cup frosting
- 1 package chocolate melts
- lollipop sticks
- sprinkles (optional)
Instructions
- Bake your cake according to the package instructions.
- Let the cake cool completely.
- Crumble the cake into a large bowl.
- Add the frosting to the crumbled cake and mix until combined.
- Form the mixture into balls and place them on a baking sheet.
- Insert the lollipop sticks into each ball.
- Melt the chocolate melts according to package instructions.
- Dip each cake pop into the melted chocolate and let excess drip off.
- Sprinkle with optional toppings.
- Let the cake pops set before serving.
Notes
- For a fun twist, experiment with different cake flavors and frostings.
- Make sure your cake pops are chilled for easier dipping.
Nutrition
- Serving Size: 1 cake pop
- Calories: 150
- Sugar: 15g
- Sodium: 50mg
- Fat: 7g
- Saturated Fat: 4g
- Unsaturated Fat: 2g
- Trans Fat: 0g
- Carbohydrates: 20g
- Fiber: 0g
- Protein: 2g
- Cholesterol: 15mg
Keywords: How to Make Cake Pops, cake pops recipe, easy cake pops