Introduction to Classic Red Velvet Cake
Why Red Velvet Cake?
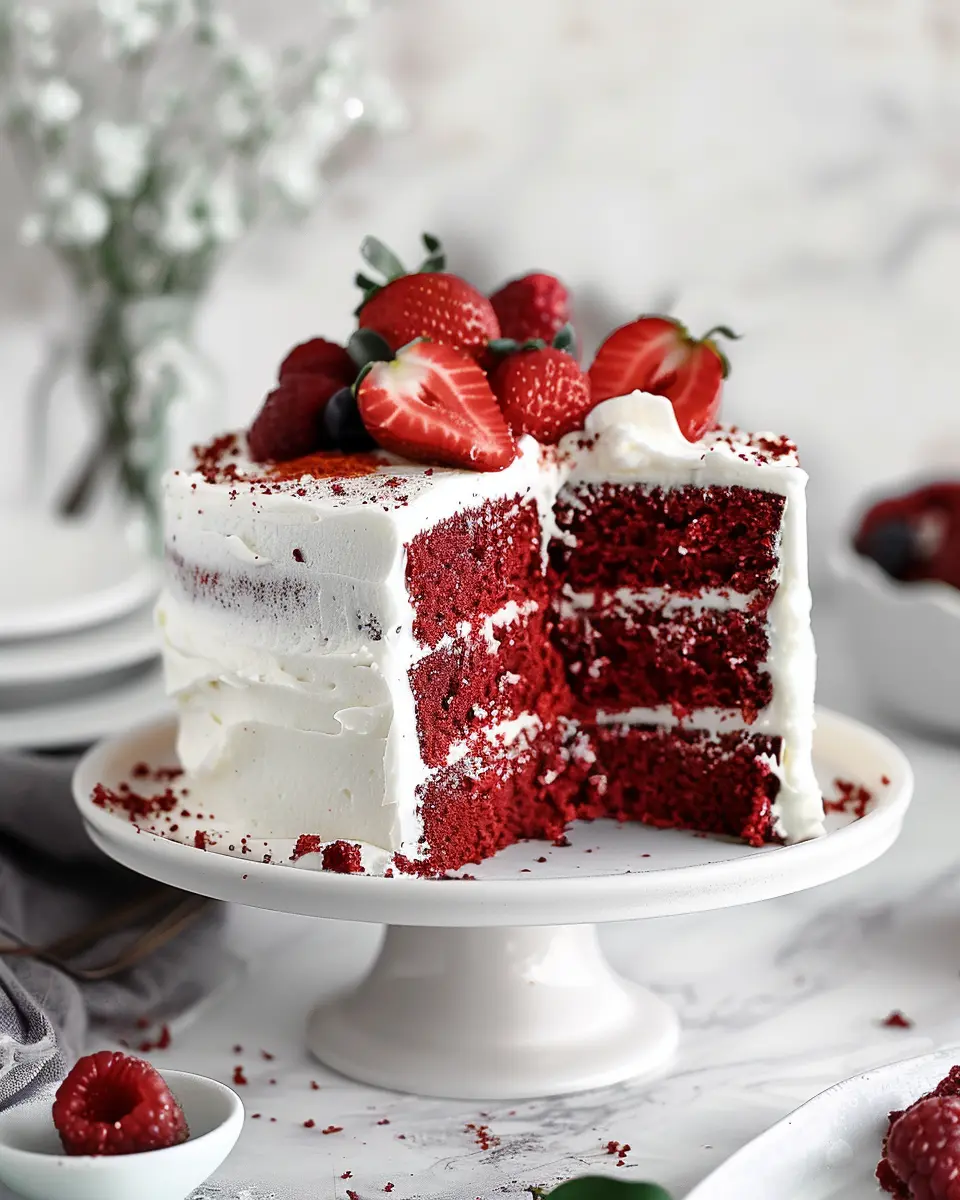
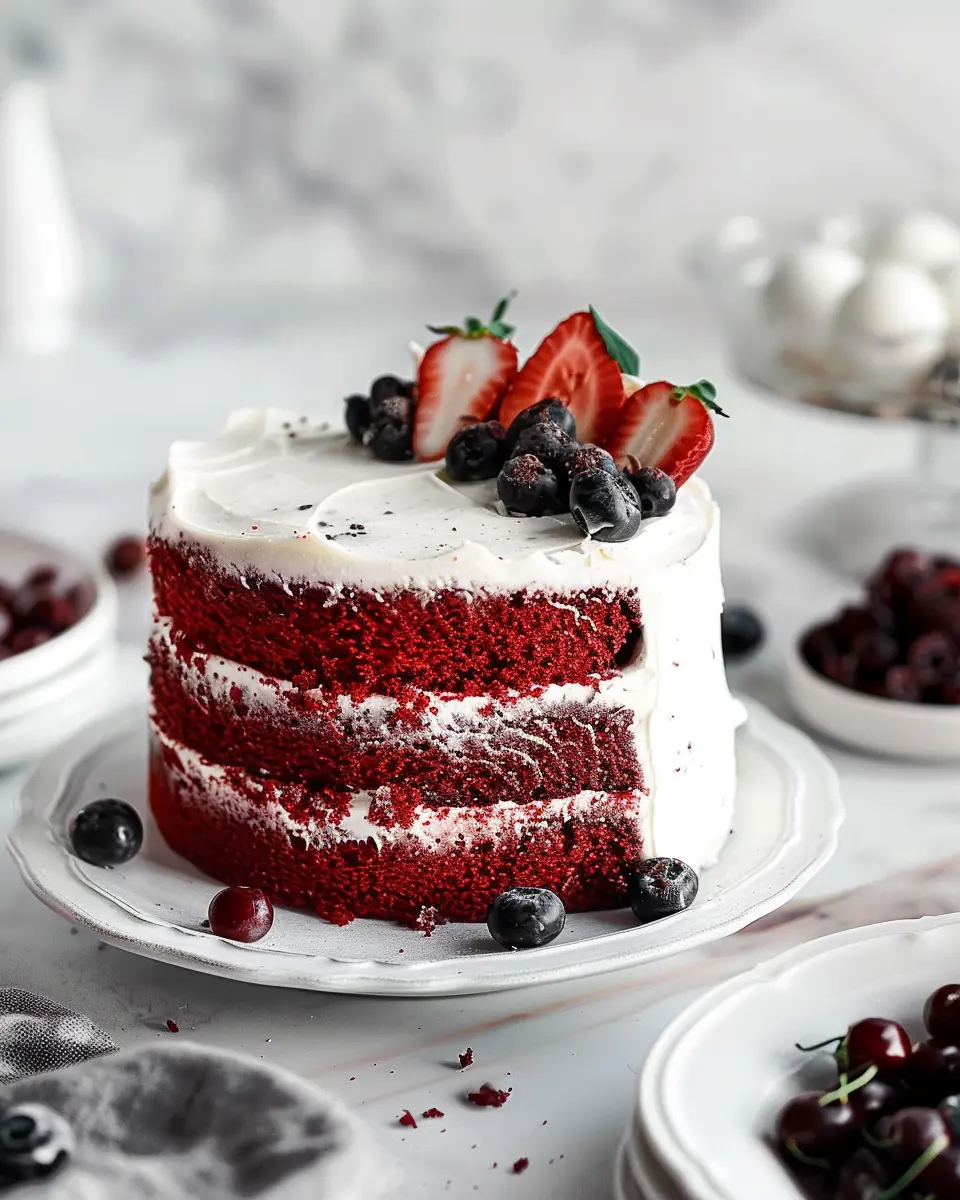
The allure of classic red velvet cake lies in its vibrant color and perfect blend of flavors. It has often been described as the cake that dances between a subtle chocolate flavor and a faint tanginess, courtesy of the buttermilk and vinegar. This unique combination creates a texture that’s soft yet slightly dense, making it a crowd-pleaser for celebrations and special occasions. If you’ve ever been to a wedding or birthday party where a slice of this red beauty was served, you know it has a magical way of stealing the spotlight.
Interestingly, red velvet cake has historic roots dating back to the Victorian era, often associated with the Southern United States. If you want to dive deeper into this cake’s history, a wonderful read is from Southern Living.
The Perfect Vintage Dessert
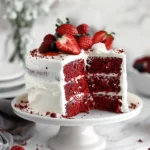
When you think of classic desserts, few can match the timeless elegance of classic red velvet cake. Its striking appearance doesn’t just please the eyes; it invites you to take a bite, promising a delightful experience. Traditionally layered with rich cream cheese or buttery frosting, this cake can also be elevated with a lighter touch, such as mascarpone cream, as we’ll explore in our recipe.
This cake has a way of making any occasion feel special—be it a cozy dinner, a joyful celebration, or even a solo treat on a Sunday afternoon. Have you ever wondered why a simple slice of cake can evoke such nostalgia? Perhaps it’s tied to its festive hue, or maybe it reminds us of cherished moments spent with loved ones.
Crafting a classic red velvet cake at home allows you to experience its charm firsthand. Unlike some complex desserts, this one balances elegance with simplicity. With just a few essential ingredients, you can create something absolutely beautiful and delicious.
Whether you’re an experienced baker looking to add to your repertoire or a novice eager to impress at the next gathering, this cake is a delightful choice. So roll up your sleeves and get ready to embark on a rewarding baking journey—you’ll be amazed at how fulfilling it is to create this classic treat from scratch!
For tips on baking techniques, check out resources like King Arthur Baking, where you’ll find expert insights tailored for all your culinary adventures.
Ingredients for Classic Red Velvet Cake
Bringing the beloved classic red velvet cake to life requires a delightful selection of ingredients. Each component plays a crucial role in achieving that signature flavor and texture. Here’s what you’ll need to whip up this showstopper:
For the red velvet cake
- 2 ½ cups all-purpose flour
- 1 ½ cups granulated sugar
- 1 teaspoon baking soda
- 1 teaspoon salt
- 1 teaspoon cocoa powder
- 1 ½ cups vegetable oil
- 1 cup buttermilk (or a substitute for a lighter option)
- 2 large eggs
- 2 tablespoons red food coloring
- 1 teaspoon vanilla extract
- 1 teaspoon white vinegar
For the mascarpone cheese whipped cream frosting
- 1 cup heavy whipping cream
- 8 ounces mascarpone cheese
- ½ cup powdered sugar
- 1 teaspoon vanilla extract
For decorating the cake
- Shaved chocolate or chocolate curls
- Fresh raspberries or strawberries (optional)
- Edible glitter (for a fun touch)
Creating your classic red velvet cake starts with these essentials. If you’re curious about how each ingredient contributes to the overall flavor, feel free to check out Nutritional Insights for a deeper dive into the benefits! Happy baking!
Preparing Classic Red Velvet Cake
Baking a classic red velvet cake is a delightful journey that results in a beautifully vibrant dessert with a tangy creaminess that’s hard to resist. As you prepare to take on this delicious project, follow these straightforward steps to create a cake that’s not just visually stunning but also amazing in taste.
Preheat and Prepare Your Pans
Before you dive into the mixing, preheating your oven is essential. Set it to 350°F (175°C). This ensures your cake rises perfectly and has a lovely texture. While the oven warms up, grab your cake pans — typically, this recipe uses two 9-inch round pans.
- Grease each pan well, and for an added safety net, line the bottoms with parchment paper. This will help in sliding out your cake layers smoothly.
Establishing a great foundation for your cake is crucial because nobody wants a broken cake at the end of their hard work!
Combine the Dry Ingredients
Now, let’s focus on the dry ingredients, which play a pivotal role in the texture of your classic red velvet cake. You’ll need the following:
- All-purpose flour
- Baking soda
- Cocoa powder (don’t skimp on quality here!)
- Salt
In a medium bowl, sift together these ingredients. Sifting not only combines everything but also aerates your flour, which gives your cake a fluffy texture. After all, who wouldn’t want a light and tender bite?
Want to delve deeper into why sifting flour matters? Check out this article on the science of baking.
Mix the Wet Ingredients
While your dry ingredients are mingling, let’s switch gears to the wet ingredients. In a large mixing bowl, whisk together:
- Granulated sugar
- Vegetable oil
- Eggs (room temperature)
- Buttermilk (a key player for moisture and tenderness!)
- Red food coloring (the star of our show)
- Vanilla extract
- White vinegar (this adds a pleasant tang)
When blending these together, take a moment to enjoy the vibrant hue developing. The combination of buttermilk and vinegar is crucial, as it creates that classic tang characteristic of red velvet cakes.
Add the Dry Ingredients to the Wet Mixture
Now for the fun part — combining! Gradually add the dry ingredients to the wet mixture. It’s best to do this in three parts, alternating with the buttermilk. This technique helps create a smooth batter without overmixing, which is essential for achieving that light texture.
As you combine, don’t be alarmed if the batter is a bit thicker than expected. This is perfectly normal for a classic red velvet cake.
Here’s a tip: Use a rubber spatula to scrape down the sides of the bowl, ensuring every bit of dry is mixed in!
Bake to Perfection
Once your batter is well combined, pour it evenly into the prepared cake pans. Give them a gentle shake to eliminate any air bubbles, and slide them into your preheated oven.
Bake for 25 to 30 minutes, or until a toothpick inserted into the center comes out clean. Your kitchen will soon be filled with the mouth-watering aroma of cake baking — it’s an experience that’s almost as delightful as the dessert itself!
While your cake layers cool in the pans for about 10 minutes, take a moment to enjoy the anticipation of the deliciousness to come. Once cool enough to handle, transfer to a wire rack to cool completely before frosting with that luscious mascarpone cream.
Follow these steps carefully, and you’ll soon impress friends and family with your classic red velvet cake. Happy baking!
Variations on Classic Red Velvet Cake
When it comes to classic red velvet cake, the flavor and visual appeal are unmatched. But what if you want to tweak the recipe to cater to different dietary needs or personal preferences? Here are two delicious variations that ensure everyone can enjoy this decadent dessert!
Vegan Red Velvet Cake
Who says you need eggs and dairy for a moist and flavorful cake? A vegan adaptation of the classic red velvet cake is not only simple but also unbelievably scrumptious. Here’s how to make it:
- Dairy-Free Milk: Use almond, soy, or oat milk instead of regular milk.
- Apple Cider Vinegar and Baking Soda: These two ingredients act as a leavening agent and mimic the fluffiness that eggs typically provide.
- Cocoa Powder and Red Food Coloring: Don’t forget this classic combo to achieve that signature color and taste—just be sure to choose vegan-friendly food coloring.
This version retains the rich flavor while being kind to your dietary choices!
Gluten-Free Red Velvet Cake
For those needing a gluten-free option, making a classic red velvet cake that everyone can enjoy is easier than you think:
- Gluten-Free Flour: Opt for a 1:1 gluten-free baking mix available at most grocery stores. It’s typically formulated to mimic all-purpose flour perfectly.
- Bob’s Red Mill or King Arthur Flour are great brands to consider, as they offer reliable results.
- Xanthan Gum: This secret ingredient helps to give the cake structure without gluten, ensuring that your cake doesn’t crumble.
With these adaptations, you can still serve up a stunning and delectable red velvet cake that’s sure to impress guests at any gathering.
Want to explore more baking tips? Check out Cupcake Project’s guide on alternative baking for deeper insights!
Baking notes for Classic Red Velvet Cake
Common mistakes to avoid
Baking a classic red velvet cake can sometimes feel daunting, but steering clear of a few common pitfalls can really elevate your results. Here are some helpful tidbits:
- Overmixing the batter: This can lead to a dense texture. Mix just until the ingredients are combined.
- Using the wrong type of cocoa powder: Make sure you use unsweetened cocoa powder; Dutch-processed cocoa can alter the flavor and color.
- Ignoring room temperature ingredients: For a fluffy cake, ensure your eggs and butter are at room temperature.
Tips for achieving the perfect color
The vibrant red hue is a hallmark of classic red velvet cake. Here’s how to achieve that stunning color without compromising the flavor:
- Quality food coloring matters: Opt for gel-based food coloring rather than liquid; it delivers a more vibrant color without adding excess liquid to your batter.
- Don’t skip the vinegar: The reaction between the cocoa and vinegar enhances the red pigment, giving you that signature color. A little goes a long way!
By keeping these tips in mind, you’ll be well on your way to creating a show-stopping dessert. For more vibrant baking inspiration, check out this resource on color in baking. Happy baking!
Serving suggestions for Classic Red Velvet Cake
When it comes to serving your Classic Red Velvet Cake with Mascarpone Cream, a few thoughtful touches can elevate your dessert experience and impress your guests. Here are some ideas to get your creative juices flowing.
Creative ways to serve with berries
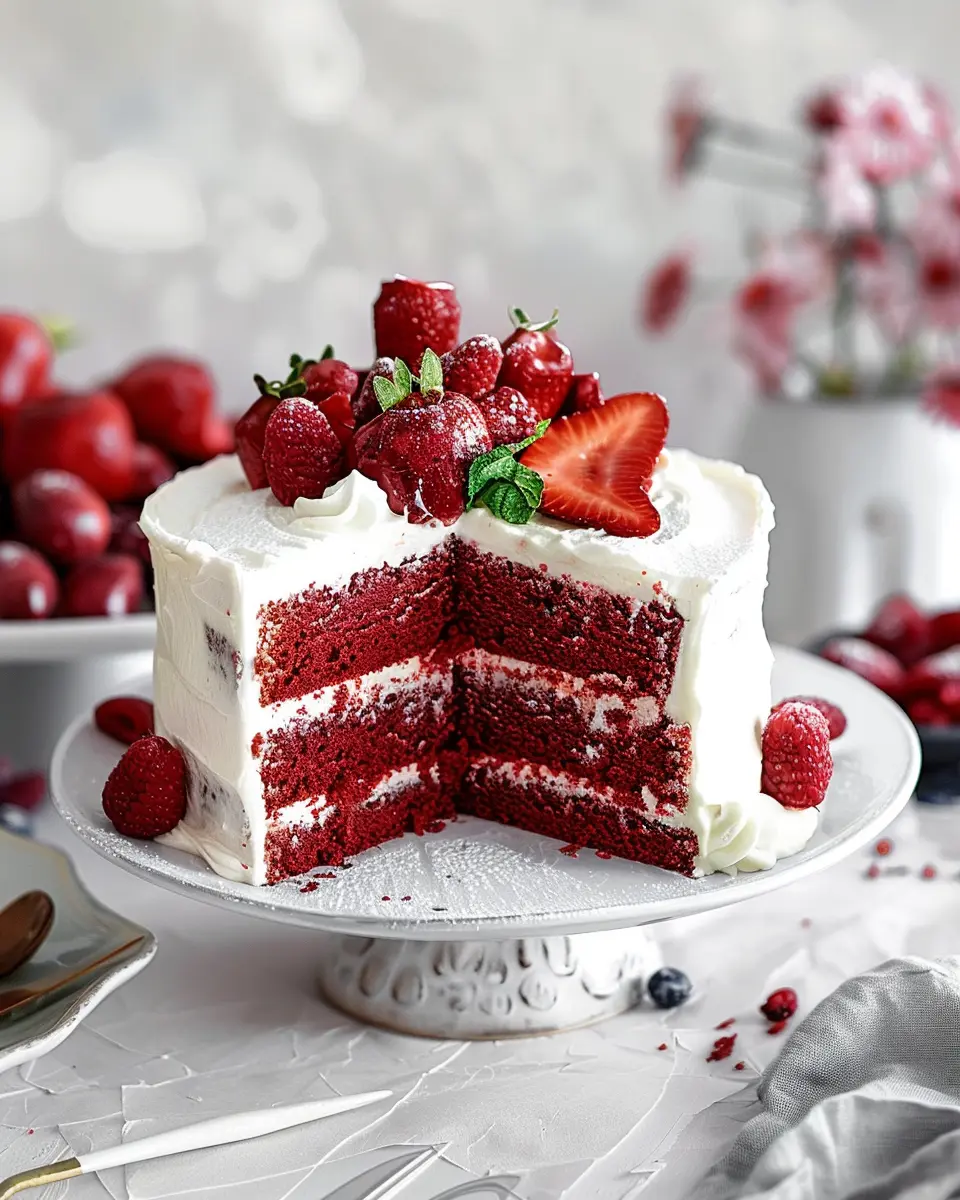
Berries are not just delicious; they also bring a contrast in flavor that pairs wonderfully with the rich and velvety texture of the cake. Consider topping your slices with:
- Fresh strawberries, raspberries, or blueberries for a burst of color and freshness.
- A drizzle of berry compote to add a sweet-tart element.
- A side of mixed berries to balance the cake’s sweetness, making it a delightful dessert platter.
You can even arrange the berries artfully around the cake for a stunning presentation. For some insight on pairing berries with desserts, check out this article.
Pairing with beverages
To complement your Classic Red Velvet Cake, think beyond traditional beverages. Here are some refreshing options:
- Iced tea with a hint of lemon can cut through the richness of the cake and cleanse your palate.
- Cold brew coffee offers a pleasant contrast, enhancing the chocolate flavors while providing a caffeine kick.
- Sparkling water with lime can also be a refreshing choice, adding a zesty twist to your dessert experience.
Whether it’s a cozy gathering or a festive celebration, these serving suggestions will make your Classic Red Velvet Cake a star on any dessert table.
Tips for Making the Perfect Classic Red Velvet Cake
Importance of Ingredient Temperature
Getting the temperature of your ingredients just right is crucial for achieving a delightful classic red velvet cake. Room temperature butter and eggs blend better, creating a light and airy batter. Aim for butter to be soft, not melted, and let your eggs sit out for about 30 minutes before mixing. This attention to detail helps ensure a smoother batter, leading to a perfectly moistened cake.
Texture Tips for the Cake and Frosting
Achieving the right texture for both the cake and the mascarpone cream frosting can transform your classic red velvet cake from simple to truly special. For the cake, be sure to:
- Sift the Dry Ingredients: This helps to aerate the flour, adding volume.
- Don’t Overmix: Mix just until the dry and wet ingredients are combined to prevent a dense cake.
For a creamy frosting:
- Use Cold Ingredients: Start with cold mascarpone cheese for a stable frosting.
- Gradually Add Sugar: Carefully increase the sugar to taste; this ensures it’s not too sweet, allowing the velvety texture to shine.
By following these tips, your classic red velvet cake with mascarpone cream will not just look amazing but also taste heavenly—perfect for your next celebration! If you want to explore more baking techniques, consider checking out resources like King Arthur Baking for expert advice.
Time details for Classic Red Velvet Cake
When you’re ready to bake your classic red velvet cake, knowing the timing is essential for success. Here’s how to plan your day:
Preparation time
Set aside approximately 20 to 30 minutes to gather your ingredients and mix the batter. This is your moment to get creative—use fresh ingredients and don’t rush! Measure your flour, sugar, and cocoa powder precisely for the best results.
Baking time
Bake your classic red velvet cake in preheated ovens for 25 to 30 minutes. Keep an eye on it. Your cake is done when a toothpick inserted in the center comes out clean.
Cooling time
Once baked, allow the cake to cool in the pan for about 10 minutes, then transfer it to a wire rack to cool completely, which might take another 45 minutes to an hour. Patience here ensures your frosting won’t melt when you decorate!
For more tips on baking times, consider checking out resources from the American Culinary Federation for expert insights. Happy baking!
Nutritional information for Classic Red Velvet Cake
When it comes to indulging in a slice of classic red velvet cake, understanding its nutritional profile can help you savor every bite more meaningfully. Here’s a quick overview of the key nutritional components:
Calories
A typical slice of classic red velvet cake contains approximately 350–400 calories. This can vary based on the serving size and ingredients used, such as using mascarpone cream instead of traditional frosting.
Fats
In terms of fats, a slice generally contains around 15–20 grams. Choosing lighter butter or oil alternatives can help reduce this without sacrificing moisture.
Sugars
The sweetness is part of the cake’s charm, but be mindful: a slice can have about 25–30 grams of sugar. If you’re looking to cut back, consider using alternatives like monk fruit or erythritol.
Being aware of these values can help you enjoy your dessert without overindulgence. For more in-depth information on nutrition and healthier alternatives, check out resources from Nutrition.gov and Healthline. Happy baking!
FAQs about Classic Red Velvet Cake
What is the history of red velvet cake?
The classic red velvet cake has a storied past that traces back to the early 20th century in the United States, especially in the Southern regions. It gained solid footing during the 1920s, often associated with the famous Waldorf-Astoria Hotel in New York City. There’s an interesting tidbit about its signature color: the reddish hue of the cake originally came from a reaction between cocoa powder and acidic ingredients like buttermilk. Want to delve deeper? Check out the detailed exploration of its history here.
How can I store a red velvet cake properly?
If you’re lucky enough to have leftovers of your classic red velvet cake, storing it correctly is essential for maintaining its deliciousness. Here’s how to do it:
- At Room Temperature: If consumed within a day, cover the cake with plastic wrap to keep it moist.
- In the Fridge: If longer storage is needed, place it in an airtight container for up to five days. Just ensure the frosting is tolerated by refrigeration.
- For Longer Storage: You can freeze individual slices wrapped in plastic wrap, followed by aluminum foil, for up to three months. Just thaw in the fridge before enjoying!
Can I use different types of food coloring?
Absolutely! While the classic red velvet cake is celebrated for its vibrant red color, you can play around with food coloring. Gel food coloring tends to yield a richer hue without altering the cake’s moisture or flavor. Alternatives like beet juice can produce a natural color, while still giving your cake a unique twist. Curious about more natural coloring options? Take a look at this guide.
With these FAQs, you should feel more prepared to bake and enjoy your classic red velvet cake enhancement journey!
Conclusion on Classic Red Velvet Cake
The joy of homemade desserts
There’s truly something special about whipping up a classic red velvet cake in your kitchen. The process not only fills your home with delightful aromas but also brings a sense of achievement as you create something genuinely delicious. Baking at home allows you to customize flavors and share your creations with friends or family, making every slice a treasure trove of memories.
Moreover, the combination of rich, velvety texture and the light sweetness of mascarpone cream in this cake elevates your dessert game. If you’re curious about more baking tips, check out resources like King Arthur Baking and Serious Eats. Give this classic red velvet cake a try, and savor every delicious bite!
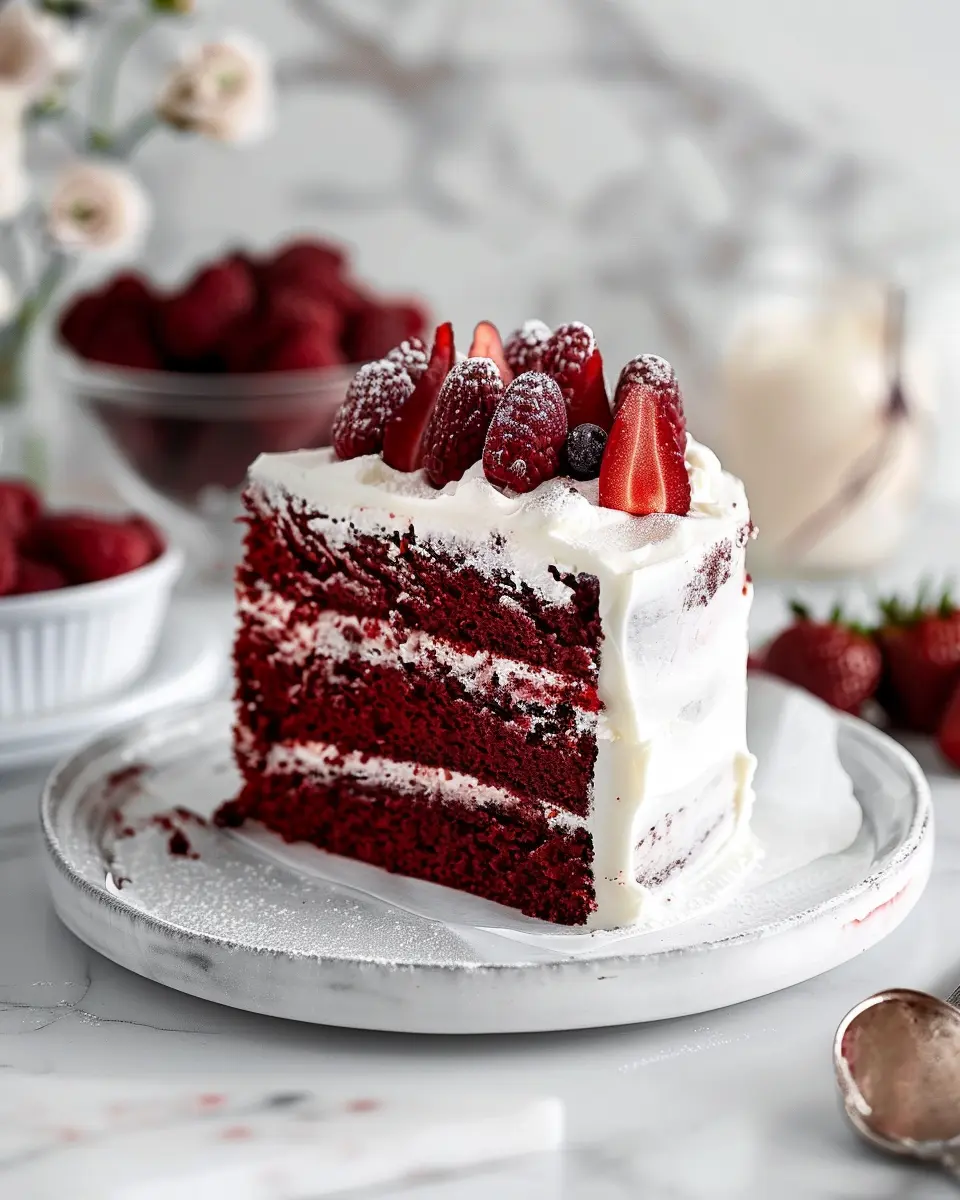
PrintClassic Red Velvet Cake: Indulgent Mascarpone Cream Delight
This classic red velvet cake is beautifully complemented by a rich mascarpone cream, creating a deliciously indulgent dessert perfect for any occasion.
- Prep Time: 20 minutes
- Cook Time: 30 minutes
- Total Time: 50 minutes
- Yield: 12 servings 1x
- Category: Desserts
- Method: Baking
- Cuisine: American
- Diet: Vegetarian
Ingredients
- 2 cups all-purpose flour
- 1 1/2 cups sugar
- 1 teaspoon baking soda
- 1 teaspoon salt
- 1 teaspoon cocoa powder
- 1 1/2 cups vegetable oil
- 1 cup buttermilk
- 2 large eggs
- 2 tablespoons red food coloring
- 1 teaspoon vanilla extract
- 1 teaspoon white vinegar
Instructions
- Preheat your oven to 350°F (175°C).
- In a large mixing bowl, combine flour, sugar, baking soda, salt, and cocoa powder.
- Add vegetable oil, buttermilk, eggs, food coloring, vanilla extract, and vinegar to the dry ingredients. Mix until smooth.
- Pour the batter into prepared cake pans and bake for 25-30 minutes.
- Let the cakes cool completely before frosting.
- For the mascarpone cream, whip together mascarpone, heavy cream, and sugar until soft peaks form.
- Frost the cooled cakes with the mascarpone cream and serve.
Notes
- For best flavor, use high-quality cocoa powder.
- Ensure the cakes are fully cooled before frosting to prevent melting.
Nutrition
- Serving Size: 1 slice
- Calories: 320
- Sugar: 22g
- Sodium: 300mg
- Fat: 17g
- Saturated Fat: 10g
- Unsaturated Fat: 5g
- Trans Fat: 0g
- Carbohydrates: 36g
- Fiber: 1g
- Protein: 4g
- Cholesterol: 60mg
Keywords: Red Velvet Cake, Mascarpone Cream, Dessert