
Introduction to Haunted Forest Pine Nut Cookies
Have you ever wandered through a quiet forest, where the air is thick with excitement and a hint of mystery? Welcome to the delicious world of Haunted Forest Pine Nut Cookies! Inspired by the enchanting imagery of a magical, slightly spooky woodland, these cookies are not only a treat for the taste buds but also a playful nod to the season’s spirit.
What are Haunted Forest Pine Nut Cookies?
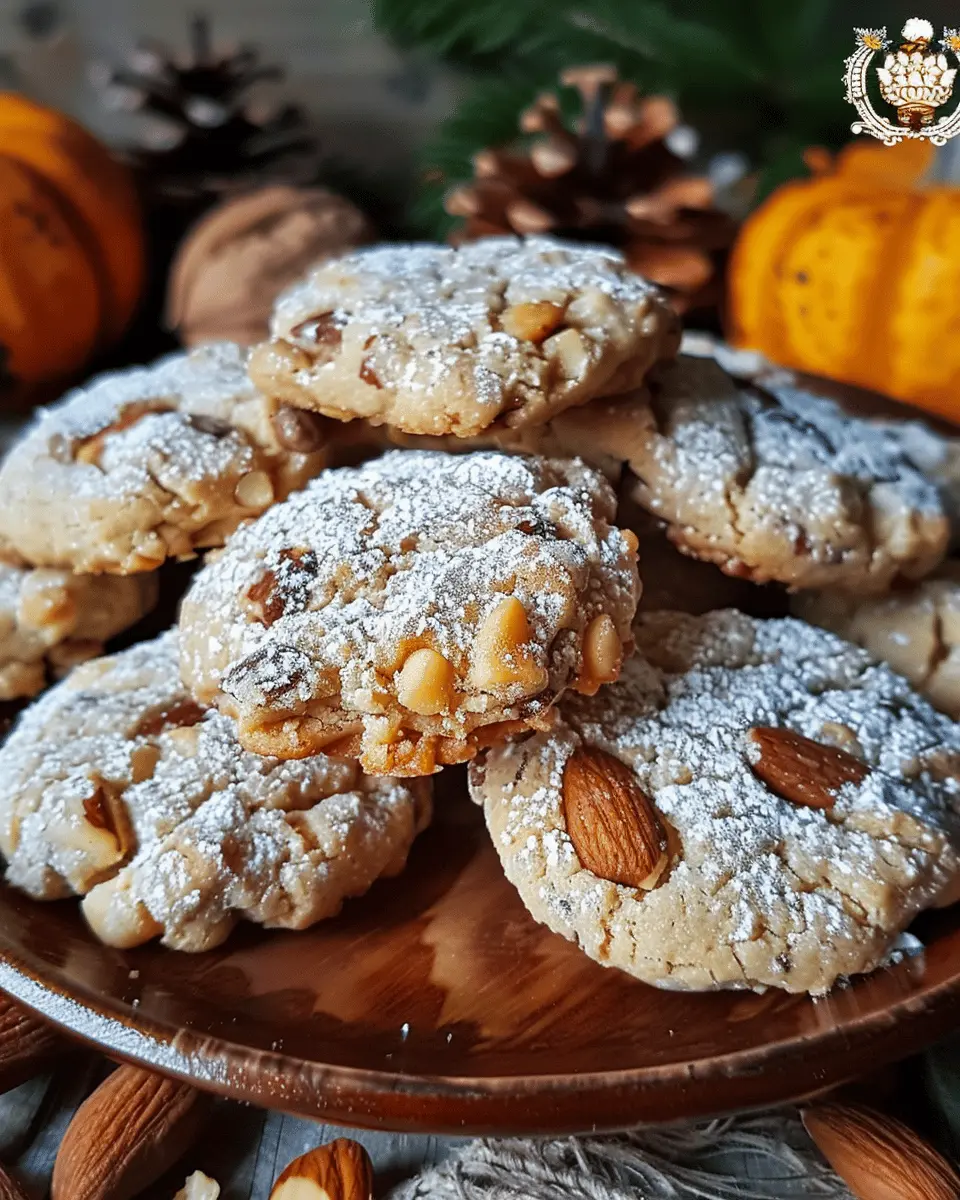
Haunted Forest Pine Nut Cookies combine the earthy richness of pine nuts with warm spices, creating a delightful balance that evokes the cozy yet adventurous feeling of an autumn forest stroll. These cookies infuse traditional recipes with a unique twist, as pine nuts offer a buttery flavor that perfectly complements the other classic ingredients.
When you bite into one of these cookies, you’re met with a soft, chewy texture that’s balanced by the satisfying crunch of the baked pine nuts. They’re not just tasty; they also pack a nutritional punch, as pine nuts are rich in healthy fats, magnesium, and antioxidants. Discover more about the health benefits of nuts here.
Why Make Pine Nut Cookies?
You might wonder, why choose Haunted Forest Pine Nut Cookies over the usual chocolate chip or oatmeal varieties? The answer is simple: they’re unique! Perfect for impressing guests at a gathering or enjoying a quiet evening at home, these cookies embody the essence of fall and the magic of inviting warmth. Plus, they satisfy your sweet tooth while steering clear of overly sugary treats.
A Heartwarming Tradition
Baking cookies, especially those with a twist like these, can quickly become a cherished tradition. It invites creativity and nostalgia into your kitchen. Whether you’re baking them for a holiday gathering, a Halloween party, or simply to enjoy with a cup of tea, these cookies are sure to become a favorite.
So grab your apron, preheat your oven, and prepare to summon the aromatic treasures of Haunted Forest Pine Nut Cookies. Let’s embark on this flavorful adventure and fill your home with warm, inviting scents that celebrate the beauty of the season!
Ingredients for Haunted Forest Pine Nut Cookies
Creating the perfect batch of Haunted Forest Pine Nut Cookies is all about choosing the right ingredients. Let’s dive into what you’ll need to make these delightful treats.
Essential Ingredients for the Cookies
To kick off your cookie adventure, gather the following essentials:
- 1 cup unsalted butter: For that rich, creamy texture.
- 3/4 cup granulated sugar: Just the right amount to balance the nuttiness.
- 1/2 cup brown sugar: Adds a delightful depth of flavor.
- 2 large eggs: These help bind everything together and provide moisture.
- 2 cups all-purpose flour: The backbone of any good cookie.
- 1/2 teaspoon baking soda: For a little lift.
- 1 cup pine nuts: This is what makes these cookies special—be sure they’re toasted for an enhanced flavor!
- 1 teaspoon vanilla extract: A splash of this adds warmth.
Optional Mix-ins and Toppings
Want to elevate your Haunted Forest Pine Nut Cookies even further? Consider these fun options:
- Chocolate chips: Who can resist the allure of chocolate?
- Dried cranberries: Add a pop of color and tartness.
- Sea salt sprinkle: A touch of savory to contrast the sweetness.
- Chopped herbs: Think rosemary or thyme for a sophisticated twist.
Personalizing your cookies not only makes them unique but also turns baking into a creative outlet. And for more cookie tips and tricks, check out this fantastic guide on baking with nuts. Happy baking!
Preparing Haunted Forest Pine Nut Cookies
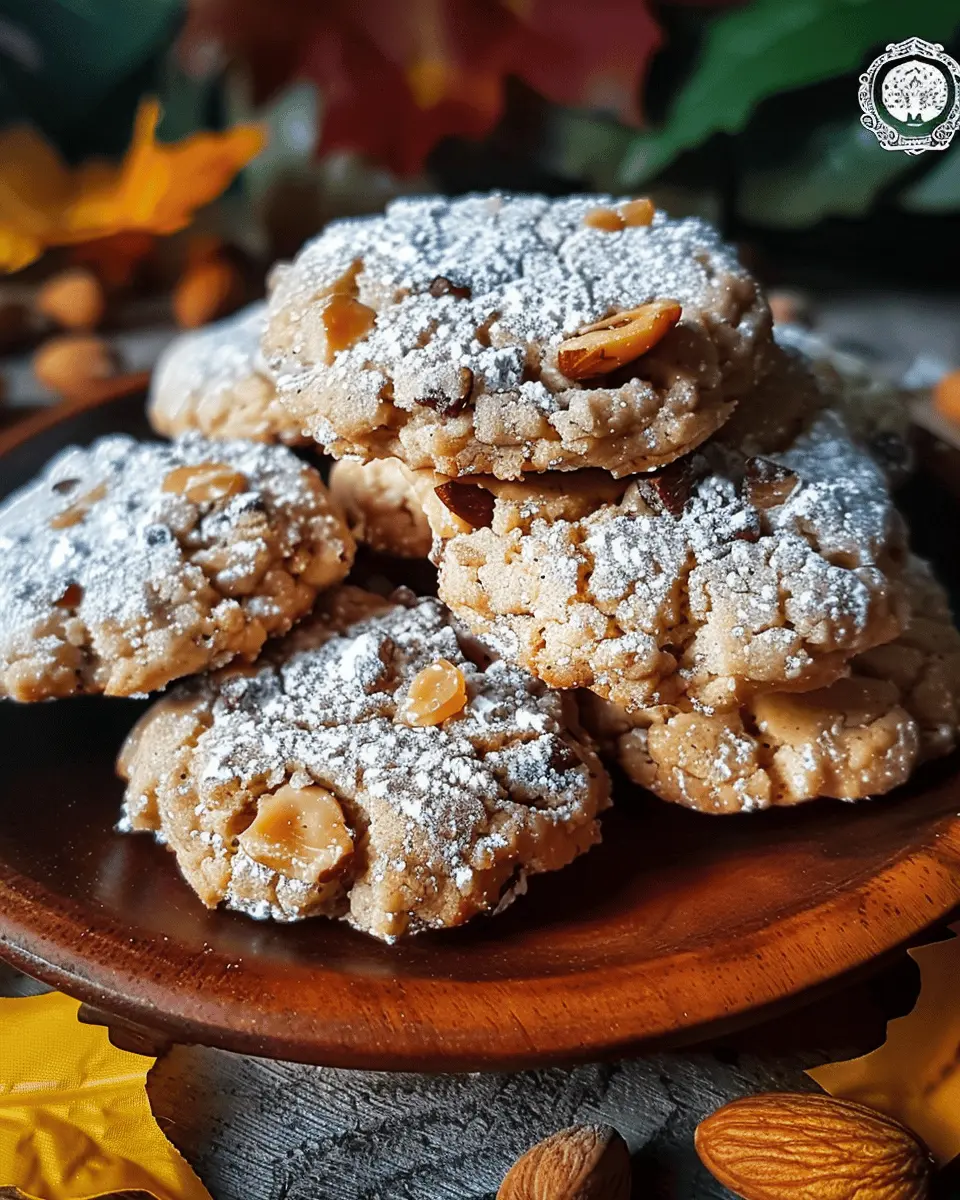
Creating a batch of Haunted Forest Pine Nut Cookies is not just a culinary endeavor; it’s an experience that brings the enchantment of fall into your kitchen. With tender, buttery cookies that feature the delightful crunch of pine nuts, these treats are perfect for Halloween gatherings or cozy autumn evenings. Let’s dive into the step-by-step process of making these hauntingly delicious cookies!
Gather Your Ingredients
Before you slip into your baking groove, it’s essential to have everything at your fingertips. For these Haunted Forest Pine Nut Cookies, you will need:
- 1 cup unsalted butter, softened
- 3/4 cup granulated sugar
- 3/4 cup packed brown sugar
- 2 large eggs
- 2 teaspoons vanilla extract
- 2 1/4 cups all-purpose flour
- 1 teaspoon baking soda
- 1/2 teaspoon salt
- 1 cup pine nuts
- Optional: a sprinkle of sea salt for finishing
Having all ingredients ready allows for a smooth baking process. Plus, it reduces the risk of forgetting something crucial!
Preheat and Prepare Your Baking Sheets
Now that your ingredients are gathered, it’s time to create the perfect environment for baking. Preheat your oven to 350°F (175°C). While it warms up, take a few moments to prepare your baking sheets:
- Line two baking sheets with parchment paper. This will prevent your cookies from sticking and make cleanup a breeze.
They say that preheating your oven is a baker’s best friend, and for good reason! A properly heated oven ensures an even bake, which is critical for achieving that golden-brown exterior.
Mix the Dry Ingredients Together
In a medium bowl, mix the following dry ingredients:
- All-purpose flour
- Baking soda
- Salt
Whisk them together until combined. This step is like prepping your forest floor before the beautiful cookies bloom! The baking soda acts as a leavening agent, giving your cookies a lovely rise. A tip from baking experts: sifting your flour can help aerate it, leading to a lighter cookie! You can find more tips on this from resources like America’s Test Kitchen for reliable baking advice.
Cream the Butter and Sugars
In a large bowl, grab that softened butter and combine it with both sugars. Using a hand mixer or a stand mixer, beat them together on medium speed until the mixture becomes light and fluffy. This crucible of flavors is vital; it incorporates air into the mixture, making your cookies tender and melt-in-your-mouth delicious!
Once fluffy, beat in the eggs one at a time, followed by the vanilla extract. The aroma of vanilla wafting through your kitchen will be enchanting—this is when the magic begins!
Combine All Ingredients and Fold in Pine Nuts
Now it’s time to bring your two mixtures together! Gradually add the dry ingredients into the wet mixture and stir until just combined. Then, gently fold in the pine nuts. The nuts add a forest-like nuttiness that perfectly complements the sweetness of the cookies.
Shape and Place on the Baking Sheet
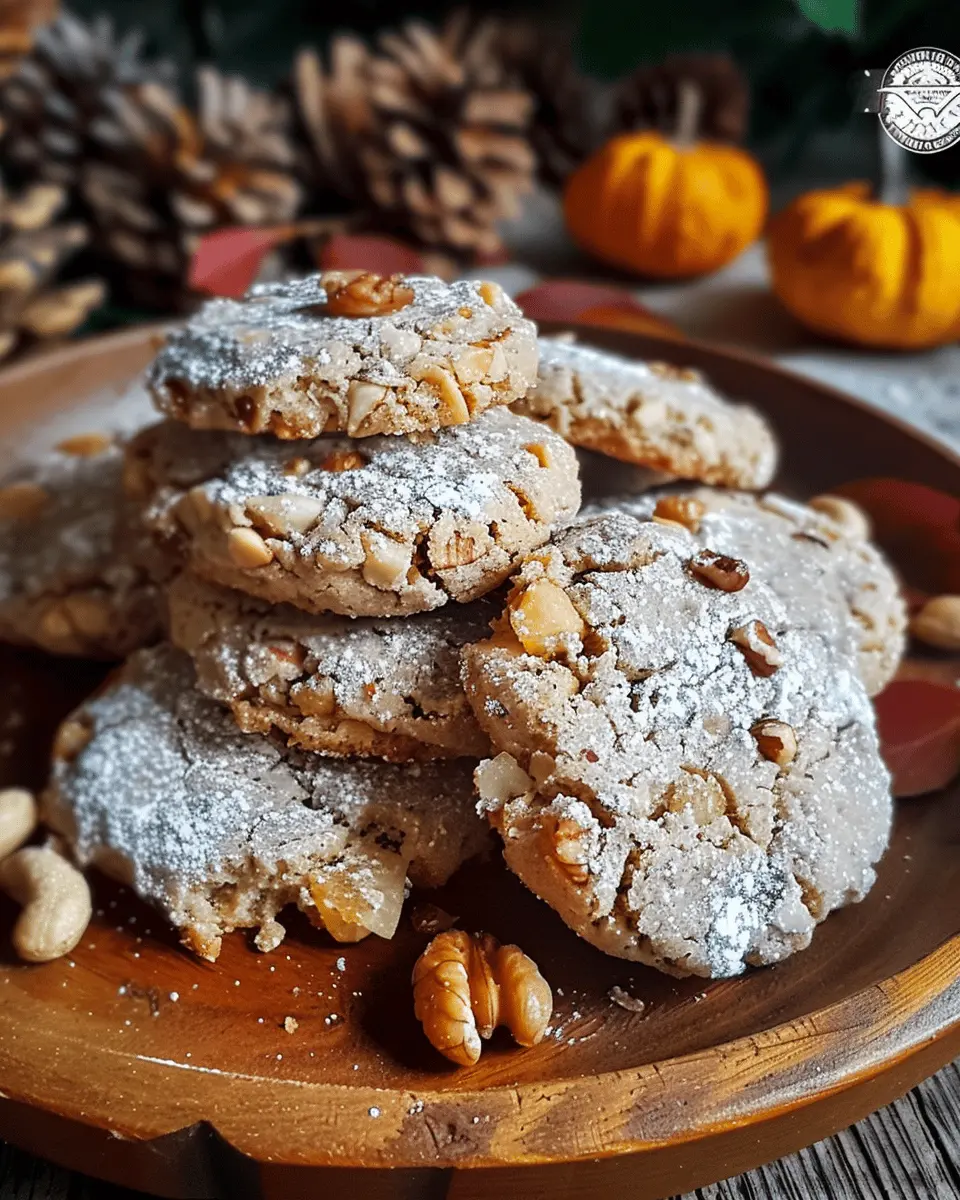
Using a tablespoon or a cookie scoop, form dough balls and place them on the prepared baking sheets about 2 inches apart. For a fun twist, you can sprinkle a few extra pine nuts on top of each cookie, enhancing their “haunted forest” appearance!
Bake and Cool Your Cookies
Pop the trays into your preheated oven and bake for 10-12 minutes, or until the edges are lightly golden. Once done, remove them from the oven and let them cool on the baking sheets for about 5 minutes before transferring them to a wire rack. Cooling is crucial as it helps the cookies set while maintaining their soft centers.
As you sit back, take a moment to admire your creation. These Haunted Forest Pine Nut Cookies are not just a treat for the taste buds—they’re a celebration of the season! You can store them in an airtight container, but they probably won’t last long with such delightful flavors beckoning for a second helping. Happy baking!
Variations on Haunted Forest Pine Nut Cookies
Pine Nut and Chocolate Chip Combo
If you’re looking to add an irresistible twist to your Haunted Forest Pine Nut Cookies, why not mix in some rich chocolate chips? The creamy texture of the chocolate complements the earthy flavor of the pine nuts, creating a delightful contrast that will keep your taste buds celebrating. Simply fold in half a cup of semi-sweet or dark chocolate chips into the dough before baking. You’ll not only enhance the visual appeal (think of those dark chocolate specks against the cookie’s golden hue), but you’ll also introduce a touch of sweetness that balances the nuttiness. If you’re interested in varying your chocolate choice, consider using white chocolate or even butterscotch chips for an unconventional twist.
Gluten-Free Haunted Forest Cookies
For those with gluten sensitivities, crafting a gluten-free version of Haunted Forest Pine Nut Cookies is easier than you might think! You can replace all-purpose flour with a 1-to-1 gluten-free flour blend. Many brands today, such as Bob’s Red Mill or King Arthur Flour, offer fantastic options that work seamlessly in cookie recipes. Just be sure to check the packaging for any added ingredients that might not align with your dietary preferences.
Additionally, using almond flour can impart a subtle nuttiness that pairs beautifully with the pine nuts. For a delightful chewiness, consider adding gluten-free oats into the mix. It’s a fantastic way to yield a delicious cookie while catering to a broader audience.
With these variations on your Haunted Forest Pine Nut Cookies, you can impress friends during fall gatherings! Share your creations on social media and let us know what you tried. Happy baking!
Cooking tips and notes for Haunted Forest Pine Nut Cookies
Common mistakes to avoid
When making Haunted Forest Pine Nut Cookies, a few simple missteps can lead to disappointing results. Here are some pitfalls to avoid:
- Overmixing the dough: When combining ingredients, mix just until everything is incorporated. Overmixing can lead to tough cookies.
- Not measuring accurately: Baking is a science, so use precise measurements. A scale can help ensure you get the perfect balance of ingredients.
- Using stale pine nuts: Fresh ingredients make a big difference. Check the expiration dates and keep your nuts stored properly.
Best practices for storage
To maintain the fresh flavors of your Haunted Forest Pine Nut Cookies, follow these storage tips:
- Cool before storing: Allow cookies to cool completely before placing them in an airtight container. This prevents sogginess.
- Layering with parchment paper: Place layers of parchment between cookies in the container to avoid sticking.
- Refrigerate for longer life: If you want to prolong their shelf life, refrigerate your cookies. Just make sure to bring them back to room temperature before serving for the best taste.
For more tips on cookie storage, check out this article from King Arthur Baking. Happy baking!
Serving suggestions for Haunted Forest Pine Nut Cookies
Pairing with beverages
When it comes to Haunted Forest Pine Nut Cookies, the right beverage can elevate your snacking experience from delightful to extraordinary. Consider pairing these cookies with:
- Herbal Tea: A cozy chamomile or mint tea can balance the nutty flavor beautifully, creating a soothing contrast.
- Apple Cider: As the weather gets crisp, a warm cup of spiced apple cider perfectly complements the cookies while adding a seasonal touch.
- Almond Milk: For a creamy, nutty flavor that enhances the pine nuts, unsweetened almond milk makes an excellent choice.
Want more inspiration for drink pairings? Check out this guide on coffee and dessert pairings for some delicious ideas.
Creative presentation ideas
Presentation can turn your snack into a centerpiece, especially when serving Haunted Forest Pine Nut Cookies. Here are some fun ideas:
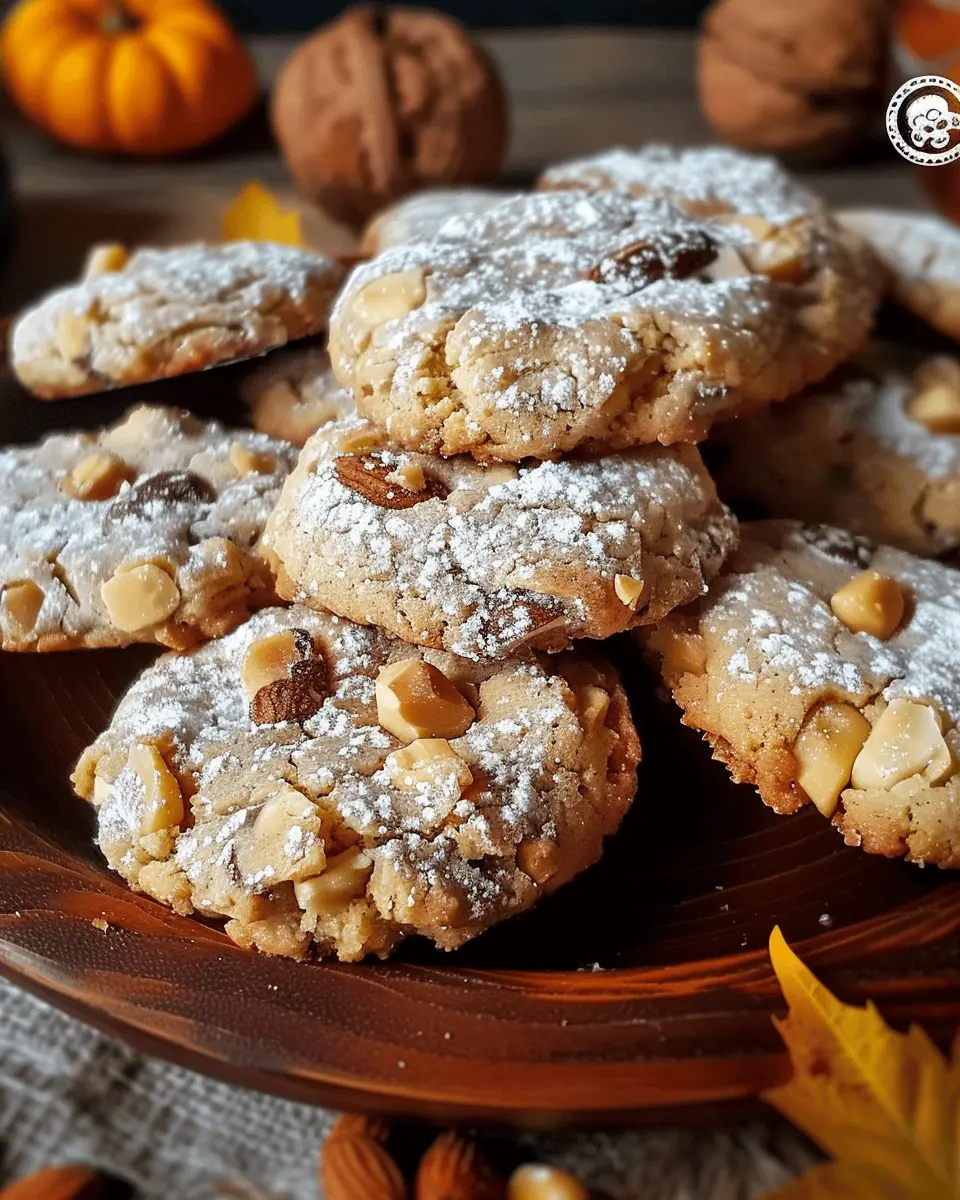
- Rustic Platter: Serve the cookies on a wooden board surrounded by pinecones and sprigs of evergreen for a forest feel.
- Cookie Jars: Display cookies in clear glass jars with spooky decorations. Add labels with creative names to make it feel like part of a Halloween party!
- Decorative Napkins: Use autumn-themed napkins that add color and charm to your serving area, making your cookies the star of the show.
These simple touches will surely wow your guests and make enjoying Haunted Forest Pine Nut Cookies a memorable experience!
Time breakdown for Haunted Forest Pine Nut Cookies
When you’re ready to whip up some delicious Haunted Forest Pine Nut Cookies for your next gathering or cozy night in, it’s good to know how much time you’ll need. Here’s a handy breakdown to help you plan your baking adventure!
Preparation time
Take about 15 minutes to gather your ingredients and mix the cookie batter. You’ll need to toast those pine nuts for an extra flavor kick, which adds a delightful touch to your cookies!
Baking time
Allow 10 to 12 minutes for baking. Keep an eye on them; you’ll know they’re done when the edges turn golden brown and the aroma fills your kitchen.
Total time
In just 25 to 27 minutes, you can enjoy the warm goodness of your Haunted Forest Pine Nut Cookies! If you’re feeling adventurous, pair your cookies with a steaming cup of herbal tea or a rich coffee to elevate your experience.
With this quick time frame, you can be in and out of the kitchen in no time! Why not check out other recipes for seasonal treats on BBC Good Food for more inspiration? Happy baking!
Nutritional Facts for Haunted Forest Pine Nut Cookies
When baking up a storm with these delightful Haunted Forest Pine Nut Cookies, knowing the nutritional details can help balance your treats with healthy choices. Here’s a quick look at what makes these cookies a tasty yet nutritious option.
Calories
Each cookie packs approximately 150 calories. This makes them a manageable sweet treat, perfect for satisfying cravings without going overboard.
Protein
These cookies provide a decent protein boost, with about 3 grams per cookie, thanks to the addition of pine nuts. Incorporating nut-sourced proteins can support muscle growth and overall health. For more on the benefits of protein in your diet, check out this article from the Harvard T.H. Chan School of Public Health.
Sodium
With just 60 mg of sodium per cookie, these Haunted Forest Pine Nut Cookies are a low-sodium option compared to many store-bought snacks. Keeping sodium levels in check is essential for heart health, making these cookies a heart-friendly choice.
So, grab a few of these while enjoying a cozy evening—your taste buds and waistline will thank you!
FAQs about Haunted Forest Pine Nut Cookies
Can I use other nuts instead of pine nuts?
Absolutely! While Haunted Forest Pine Nut Cookies rely on the unique flavor of pine nuts, feel free to substitute them with your favorites. Chopped pecans, walnuts, or even hazelnuts can work beautifully. Each nut will impart a slightly different taste and texture, so choose one that complements your other ingredients. If you’re allergic to nuts, consider using seeds like pumpkin or sunflower for a similar crunch without the allergens.
How can I store my cookies for freshness?
To keep your Haunted Forest Pine Nut Cookies fresh, storing them properly is key. Here are some tips:
- Airtight Container: Place your cookies in an airtight container at room temperature, which helps retain moisture.
- Layer with Parchment Paper: If you have multiple layers, separate them with parchment paper to prevent sticking.
- Refrigeration: For longer storage, you can refrigerate or freeze them. Just make sure they’re sealed tightly to avoid freezer burn!
Check out The Kitchn for more on proper cookie storage techniques.
What is the best way to keep cookies from spreading?
To prevent your Haunted Forest Pine Nut Cookies from spreading too much during baking, consider these methods:
- Chill the Dough: After mixing, refrigerate your dough for at least 30 minutes. This helps firm up the fats, reducing spread.
- Use the Right Flour: A higher-protein flour, like bread flour, can help cookies maintain their shape better than all-purpose flour.
- Baking Temperature: Ensure your oven is at the correct temperature—too low can cause the dough to spread excessively.
By following these tips, you can enjoy perfectly shaped cookies that are every bit as delightful as their haunted forest inspiration!
Conclusion on Haunted Forest Pine Nut Cookies
In conclusion, Haunted Forest Pine Nut Cookies aren’t just a treat; they’re an experience. Imagine gathering around a campfire, sharing stories of adventure while enjoying these delicious cookies. The nutty flavor of pine nuts adds a uniquely delicious twist that enhances the comforting sweetness of traditional cookies.
To elevate your cookie game, consider these tips:
- Opt for freshly roasted pine nuts for the best flavor.
- Experiment with spices like cinnamon or cardamom for an autumnal touch.
- Pair them with hot apple cider for a cozy vibe.
For more baking ideas, check out resources from the Great British Baking Show and America’s Test Kitchen. These cookies can become a lovely tradition, perfect for gatherings or quiet nights at home. Happy baking!
PrintHaunted Forest Pine Nut Cookies: Easy & Irresistibly Delicious

A delicious and easy recipe for Haunted Forest Pine Nut Cookies that will delight your senses.
- Prep Time: 15 minutes
- Cook Time: 12 minutes
- Total Time: 27 minutes
- Yield: 24 cookies 1x
- Category: Desserts
- Method: Baking
- Cuisine: American
- Diet: Vegetarian
Ingredients
- 1 cup pine nuts
- 1 cup all-purpose flour
- ½ cup unsalted butter, softened
- ¾ cup sugar
- 1 teaspoon vanilla extract
- ¼ teaspoon salt
- 1 egg
Instructions
- Preheat your oven to 350°F (175°C).
- In a bowl, cream together the butter and sugar until fluffy.
- Add the egg and vanilla extract, mixing well.
- In another bowl, combine flour, salt, and pine nuts.
- Gradually add the dry ingredients to the creamed mixture, stirring until just combined.
- Drop spoonfuls onto a baking sheet lined with parchment paper.
- Bake for 10-12 minutes or until golden brown.
- Let cool on the baking sheet for a few minutes before transferring to a wire rack.
Notes
- For a festive touch, sprinkle cookies with powdered sugar after cooling.
- These cookies can be customized with chocolate chips or dried fruit.
Nutrition
- Serving Size: 1 cookie
- Calories: 150
- Sugar: 10g
- Sodium: 50mg
- Fat: 8g
- Saturated Fat: 4g
- Unsaturated Fat: 2g
- Trans Fat: 0g
- Carbohydrates: 18g
- Fiber: 1g
- Protein: 2g
- Cholesterol: 20mg
Keywords: Haunted Forest Pine Nut Cookies, Pine Nut Cookies, Easy Cookie Recipe